

How to make sure your helmet fits right
Tips for kids and parents
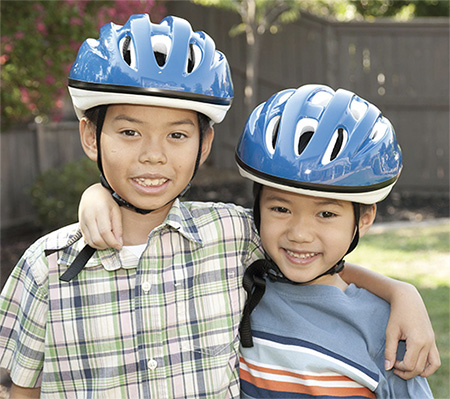
A helmet can protect your head and brain only if you wear it correctly each time you ride!
Remember:
- Injuries to the brain are the number one cause of death and disability to children.
- Many severe brain injuries from bicycle crashes can be prevented by using a properly fitting safety helmet.
- Replace any helmet that has been involved in a crash, or is damaged.
- Buy a helmet that fits your head now, not a helmet to “grow into.”
- Buy a new helmet that meets the uniform safety standard issued by the U.S. Consumer Product Safety Commission (CPSC).
- The helmet must cover your forehead, with the front edge two finger widths above your eyebrows.
- The helmet should fit snugly and not rock side to side.
- The chin strap should always be buckled snugly, with only enough room for two fingers.
- In California, children under 18 years of age must wear an approved helmet when riding bikes, scooters, skateboards, or inline skates.
Steps to make sure your helmet fits right
-
Step 1
Size
Measure your head for approximate size. Try the helmet on to ensure it fits snugly. With the helmet sitting flat on top of your head, make sure the helmet doesn’t rock side to side. Sizing pads can be used to adjust the fit to different head shapes. Mix or match sizing pads for the best fit.
-
Step 2
Position
The helmet should sit level on your head and low on your forehead – one or two fingers-widths above your eyebrow.
-
Step 3
Buckles
Center the left buckle under your chin. On most helmets, the straps can be pulled from the back of the helmet to lengthen or shorten the chin straps. This is easier if you take the helmet off to make these adjustments.
-
Step 4
Side Straps
Adjust the slider on the straps to form a “V” shape under, and slightly in front of the ears. Lock the slider if possible.
-
Step 5
Chin Strap
Roll the rubber band towards the slider. Buckle up. Tighten the strap until it is snug, so that no more than one or two fingers fit under the strap.
-
Step 6
Check Helmet Fit
Does your helmet fit right? Open your mouth wide. The helmet should pull down on your head, if not tighten chin strap.
Does your helmet rock back more than two fingers above the eyebrows? If so unbuckle, shorten the front strap by moving the slider forward. Buckle, retighten the chin strap and try again.
Does your helmet rock forward into your eyes? If so, unbuckle, tighten the back strap by moving the slider back toward the ear. Buckle, retighten the chin strap and try again.
-
Step 7
Final Step
Roll the rubber band on chin strap down towards the buckle. All four straps must go through the rubber band and be close to the buckle to prevent the buckle from slipping.